Field procedure
How we actually work on your roof
Solar detach and reset goes wrong in predictable ways: someone walks on the glass, panels get stacked flat in a garage, or a roofer opens a live DC circuit. This is the step-by-step procedure our crews follow instead, and the standard every fulfillment partner in our network is held to.
The procedure on video
What the steps below look like on a real roof
Nobody stands on module glass, nothing gets stacked flat, and no panel comes off until the system reads dead at the meter. Every job ends with a photo log PDF showing each panel back in its documented position.
Step 01
Test the system before anything comes off
Every job starts with meter readings, not tools. We record string voltage and inverter status so a system that was already failing is documented before we touch it.
- String voltage and current read with a meter rated for 600V DC, plus inverter status photos.
- If the system is already down, we stop, document it, and get it acknowledged in writing before proceeding.
- Serial numbers and panel positions are logged so every module goes back where it came from.
Step 02
Licensed electrical shutdown and lockout
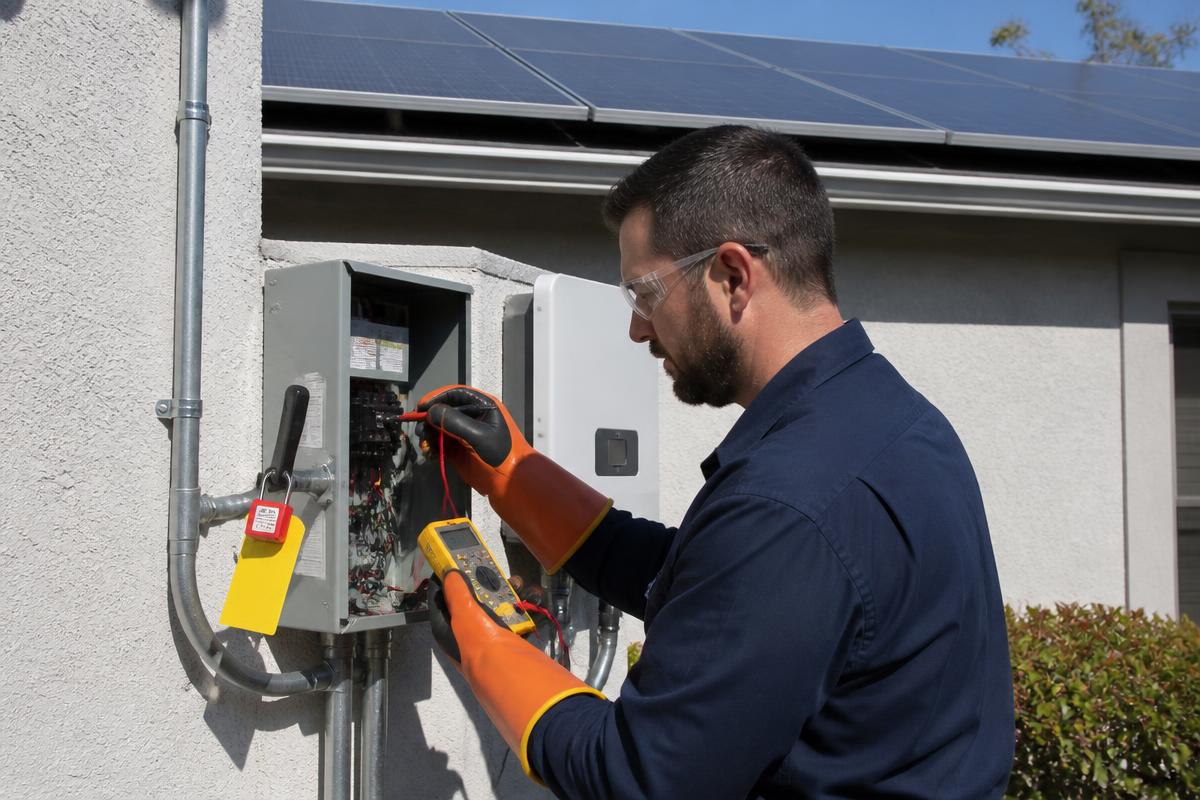
A licensed electrician handles the AC and DC disconnects, verifies the circuit is dead, and applies lockout/tagout before anyone gets on the roof.
- AC disconnect opened, DC disconnect opened, absence of voltage verified at the conductors.
- Lockout/tagout applied and photographed; the lock stays on until reconnection.
- Insulated gloves and arc-rated PPE for all energized work — this is licensed electrical scope, not roofing scope.
Step 03
Fall protection before roof access
Anyone working on a sloped roof is tied off to a rated anchor. Low-slope and commercial decks get a warning-line perimeter instead of guesswork.
- Harness, lanyard, and rated anchor on every pitched roof; soft-sole boots to protect shingles and tile.
- Warning-line perimeter and slip sheets on low-slope TPO and modified decks.
- Ground drop zone coned and taped so nothing lands where people walk.
Step 04
Panels come off by hand, two people, by the frame
Nobody stands on panel glass. Modules are carried by the frame, two technicians per panel, straight from the rail to a padded rack.
- No walking, kneeling, or setting tools on module glass — microcracks are invisible and permanent.
- Two-person lift by the aluminum frame, never by the junction box, conduit, or wiring.
- Rails, clamps, and mount hardware bagged and labeled by roof plane so the reset matches the original layout.
Step 05
Upright storage in padded racks
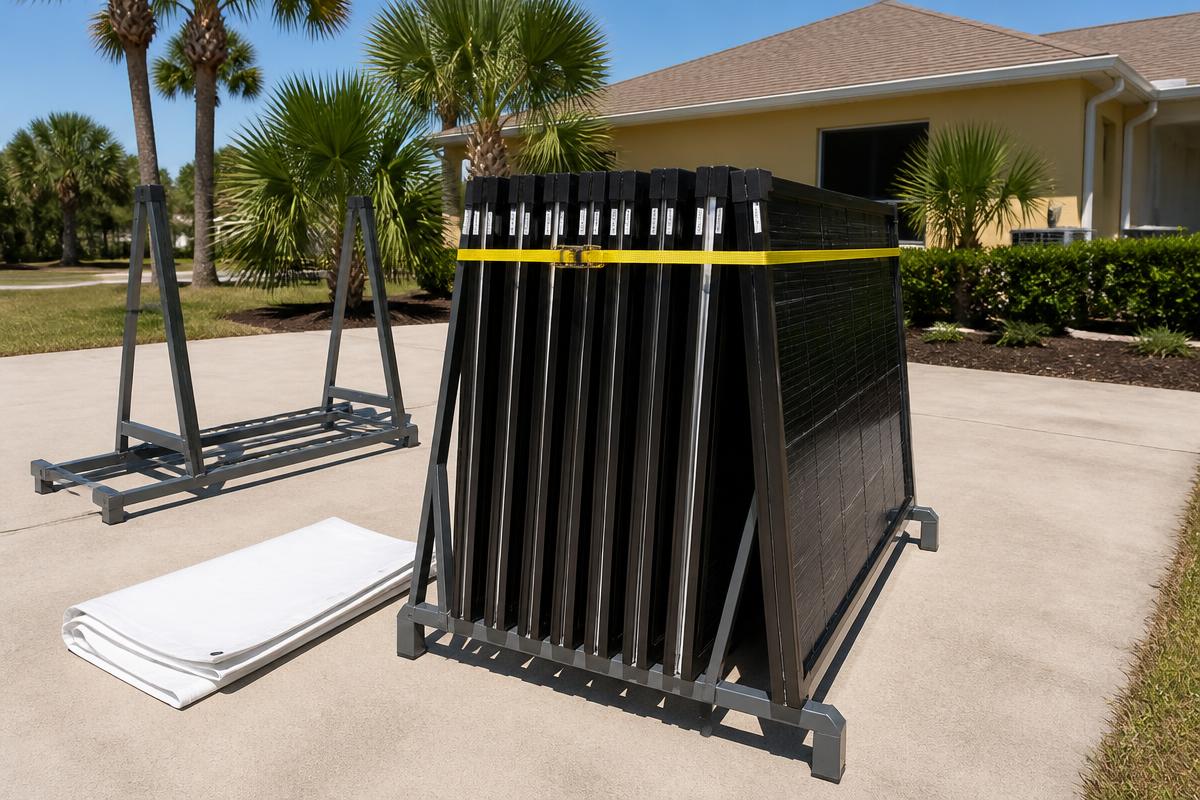
Removed panels are stored on edge in padded A-frame racks with foam separators and straps — never stacked flat, never leaned against a wall.
- A-frame racks with foam separators, corner protectors, and ratchet straps.
- Racks staged off the ground, out of traffic, covered if weather is moving in.
- Every rack position is labeled and photographed so the count is provable at reset.
Step 06
Reset with new flashing and torqued hardware
On the finished roof, every penetration gets new flashing and sealant, and every clamp is torqued to the manufacturer's spec — then the array is turned back on and verified.
- New flashing and sealant at every mount penetration; no reuse of old boots.
- Torque wrench set to the racking manufacturer's spec on mounts and module clamps.
- Licensed electrician removes lockout, reconnects, and confirms production with meter readings and inverter screenshots.
Step 07
Cleaning happens from the ground
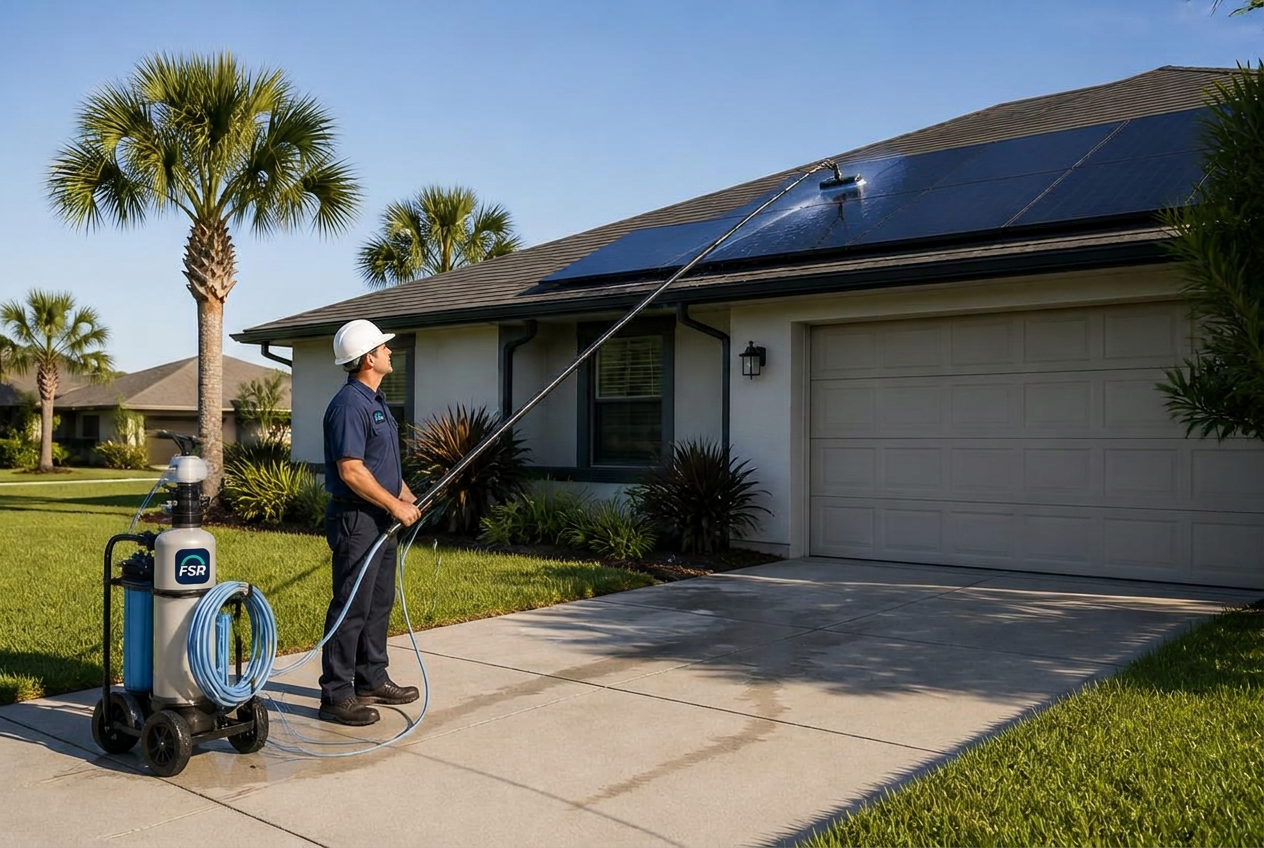
Panel cleaning uses a filtered, deionized water-fed pole from the ground — no pressure washing, no detergents, and no one standing on the array.
- Carbon-fiber water-fed pole with a soft brush, fed by filtered/deionized water so nothing dries into spots.
- No pressure washers, no abrasive pads, no chemicals that void module warranties.
- Early-morning or overcast work so the glass is cool and the panels are not energized in full sun heat.
Step 08
Photo-logged and closed out
Each phase is photographed in the crew app and finalized into one record that the homeowner, the roofer, and our office all receive.
- Before, during, storage, reset, and closeout photos tied to the job number.
- Daily logs with crew, hours, weather, and any condition found on the roof.
- Finalized log and invoice emailed to every party — nothing depends on someone's memory.
Every photo on this site shows the real procedure
Harnesses on pitched roofs, panels carried by the frame, upright padded racks, ground-fed cleaning, and licensed electricians on the disconnects. If you see us doing something different on your job, stop the crew.